Payment request object overview
Introducing an overview of payment request objects and how to create records.
What is a “payment request object” in Sanka?
A payment invoice object is a database for managing payment invoices.What you can do with the payment request object
- **Management of payment invoices: **You can register the information of payment invoices. In addition, past history can be managed centrally, so you can quickly check the information you need.
- Status Tracking: Statuses can be set so you can track the progress of your payments, such as draft, approved, paid, etc.
Key properties of the payment request object
**Payment Request ID: **A unique identifier given to each purchase order for easy tracking and reference by businesses and customers. **Business Partner: **You can register from the information registered in the "Company" object or "Contact" object. **Status: Track the current progress of your paid invoices by setting the status as draft, received, approved, or paid. **Payment date: **You can enter the payment date. **Upload invoice: **You can upload the file that was actually sent.How to register a new payment request record
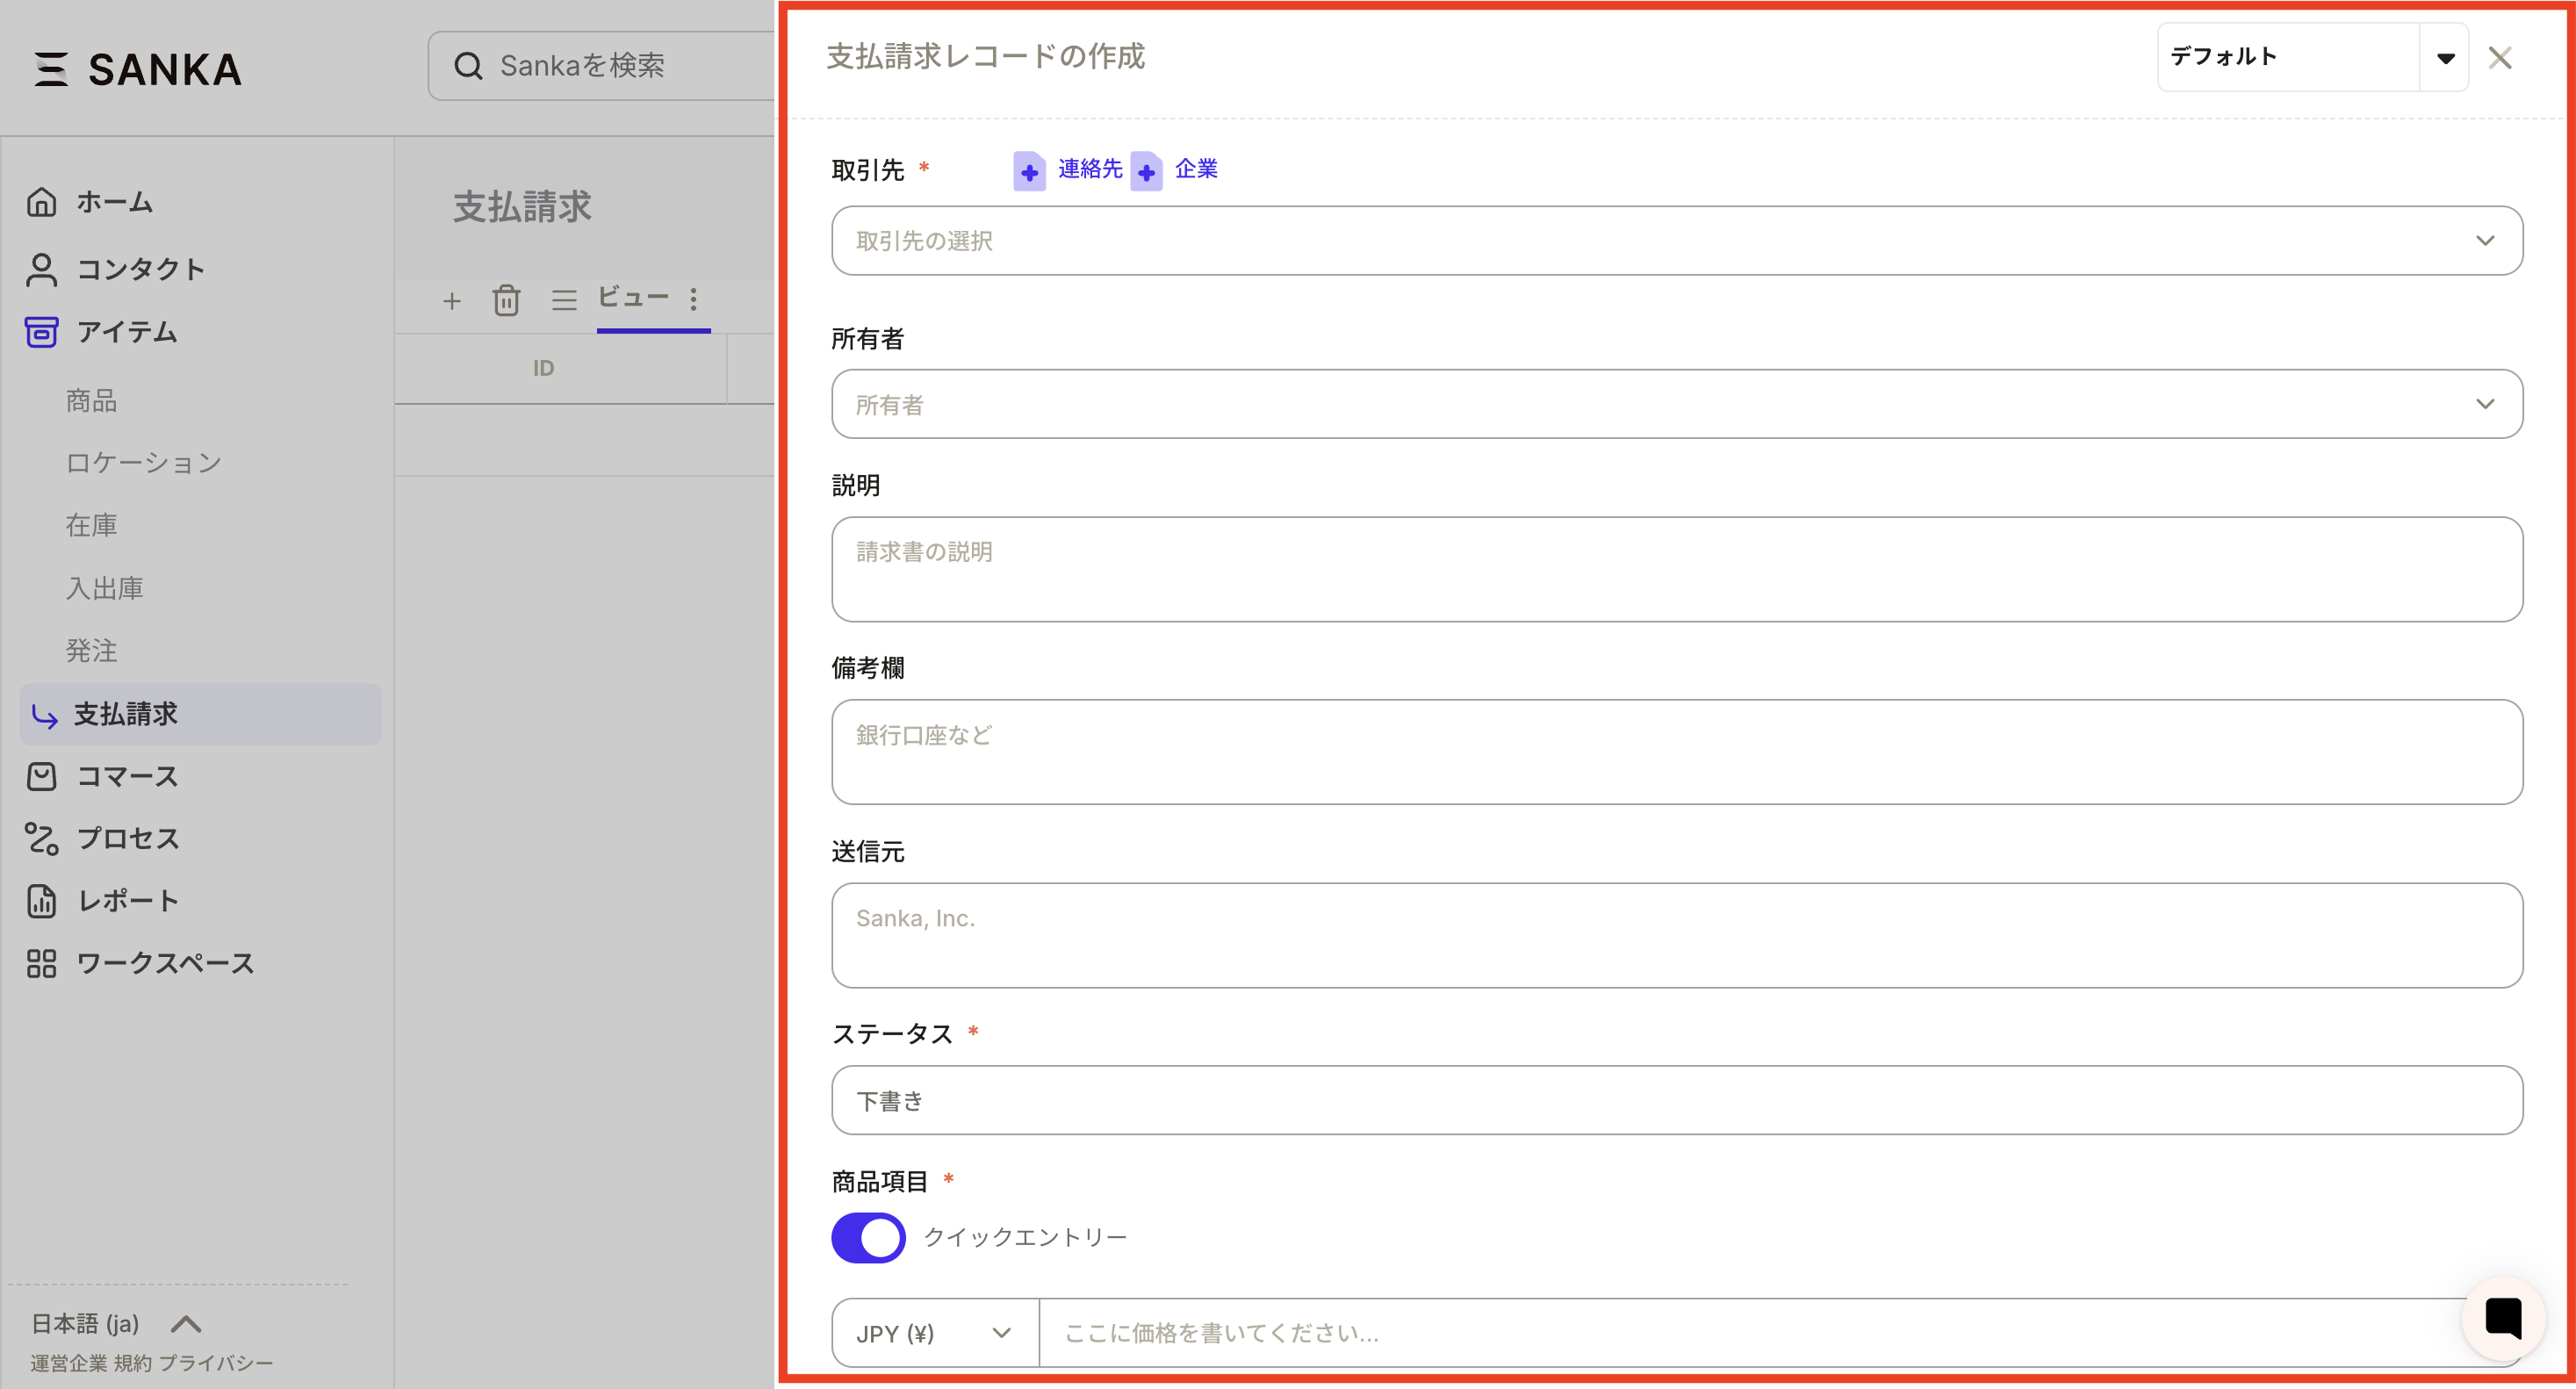
In Sanka, each invoice is assigned a unique ID and can be linked to necessary information such as accounts (contacts and companies). Additionally, you can easily track progress by setting each invoice as a draft, received, approved, or paid status. ① Go to the invoice object and select Create New at the top right of the screen. ②The “Create payment request record” screen will be displayed. Let's enter the necessary information.
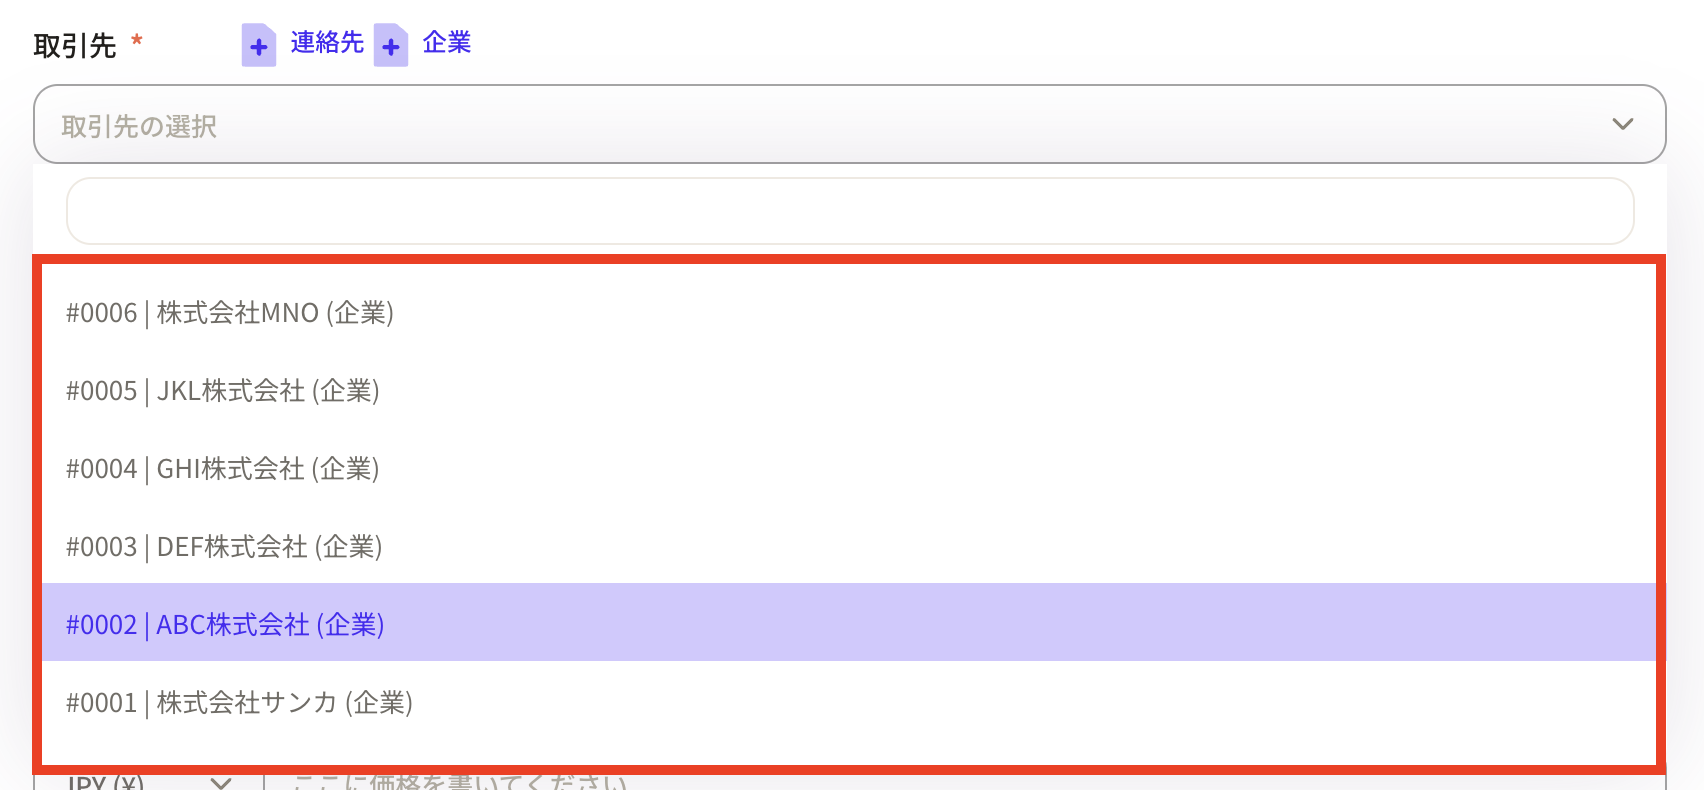
 ③ First, select "Business Partner" from the registered contacts and companies. If your business partner is not registered, you can register it using the "Contact" and "Company" buttons.
 ④ Select the owner.
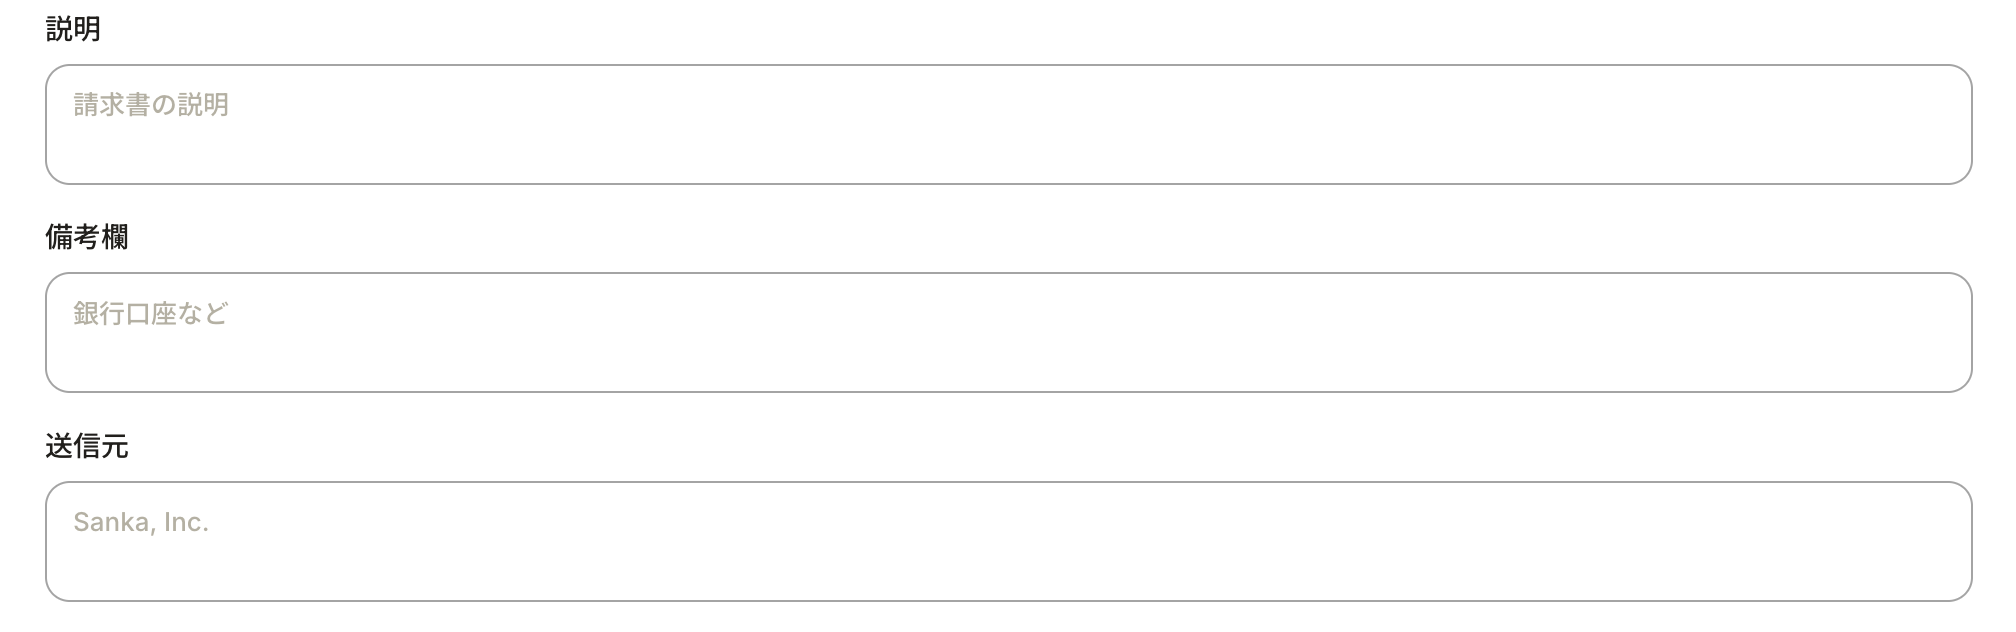
 Enter any information regarding the invoice.
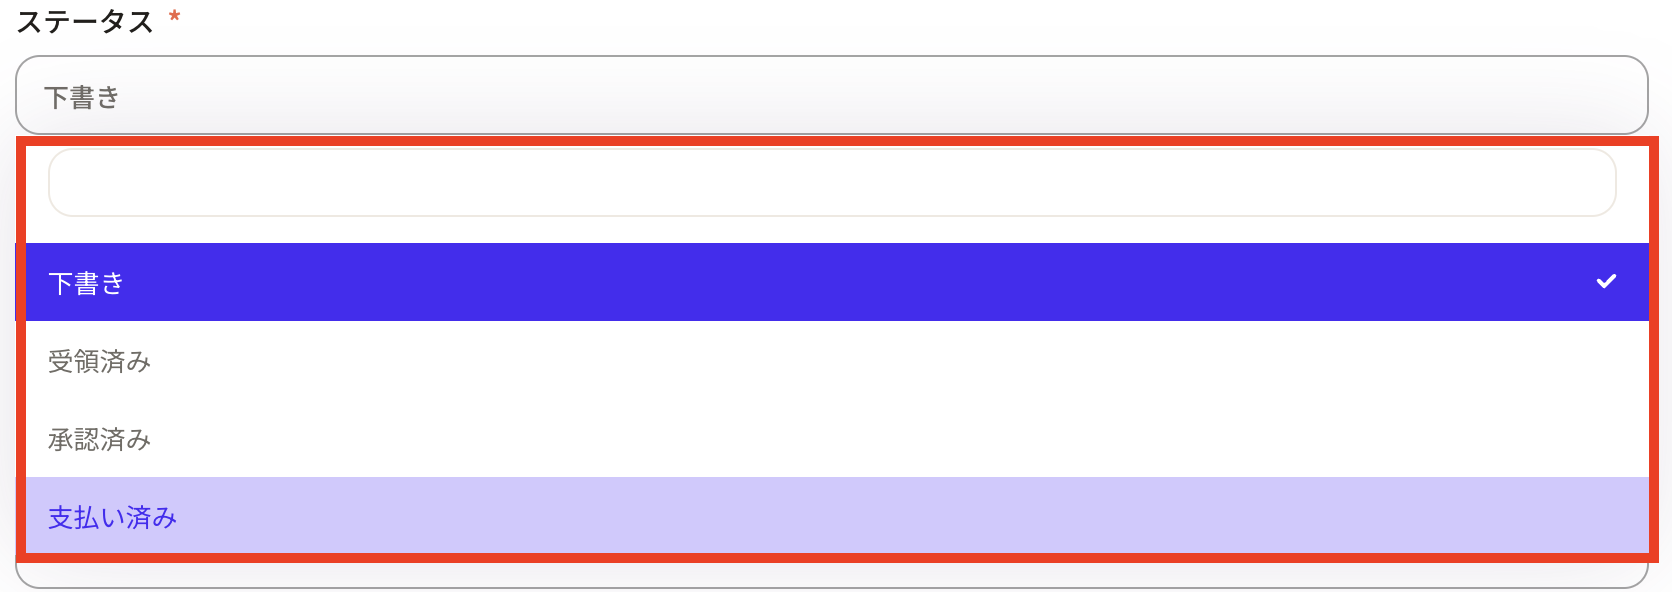
 ⑤Set the status according to the payment status. *This status can be changed from property settings.
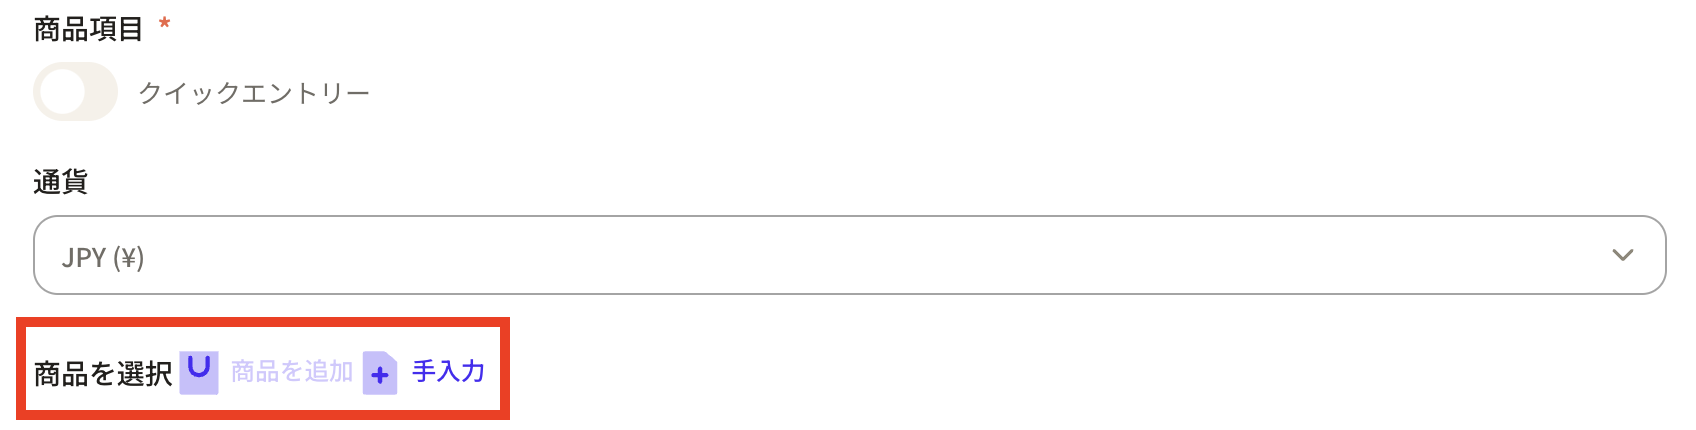
 ⑥Set the product items. If you turn on quick entry, you can only enter the amount.
 If you turn off quick entry, the product item field will be displayed. Press the "Add Product" button.
 Select the product and enter the quantity. The amount will automatically reflect the information registered in the product object.
 ⑦Enter the issue date and payment date. The default date is the current date. Clicking on the frame will display a calendar where you can change the date.
 ⑧In the invoice file, upload the original invoice.
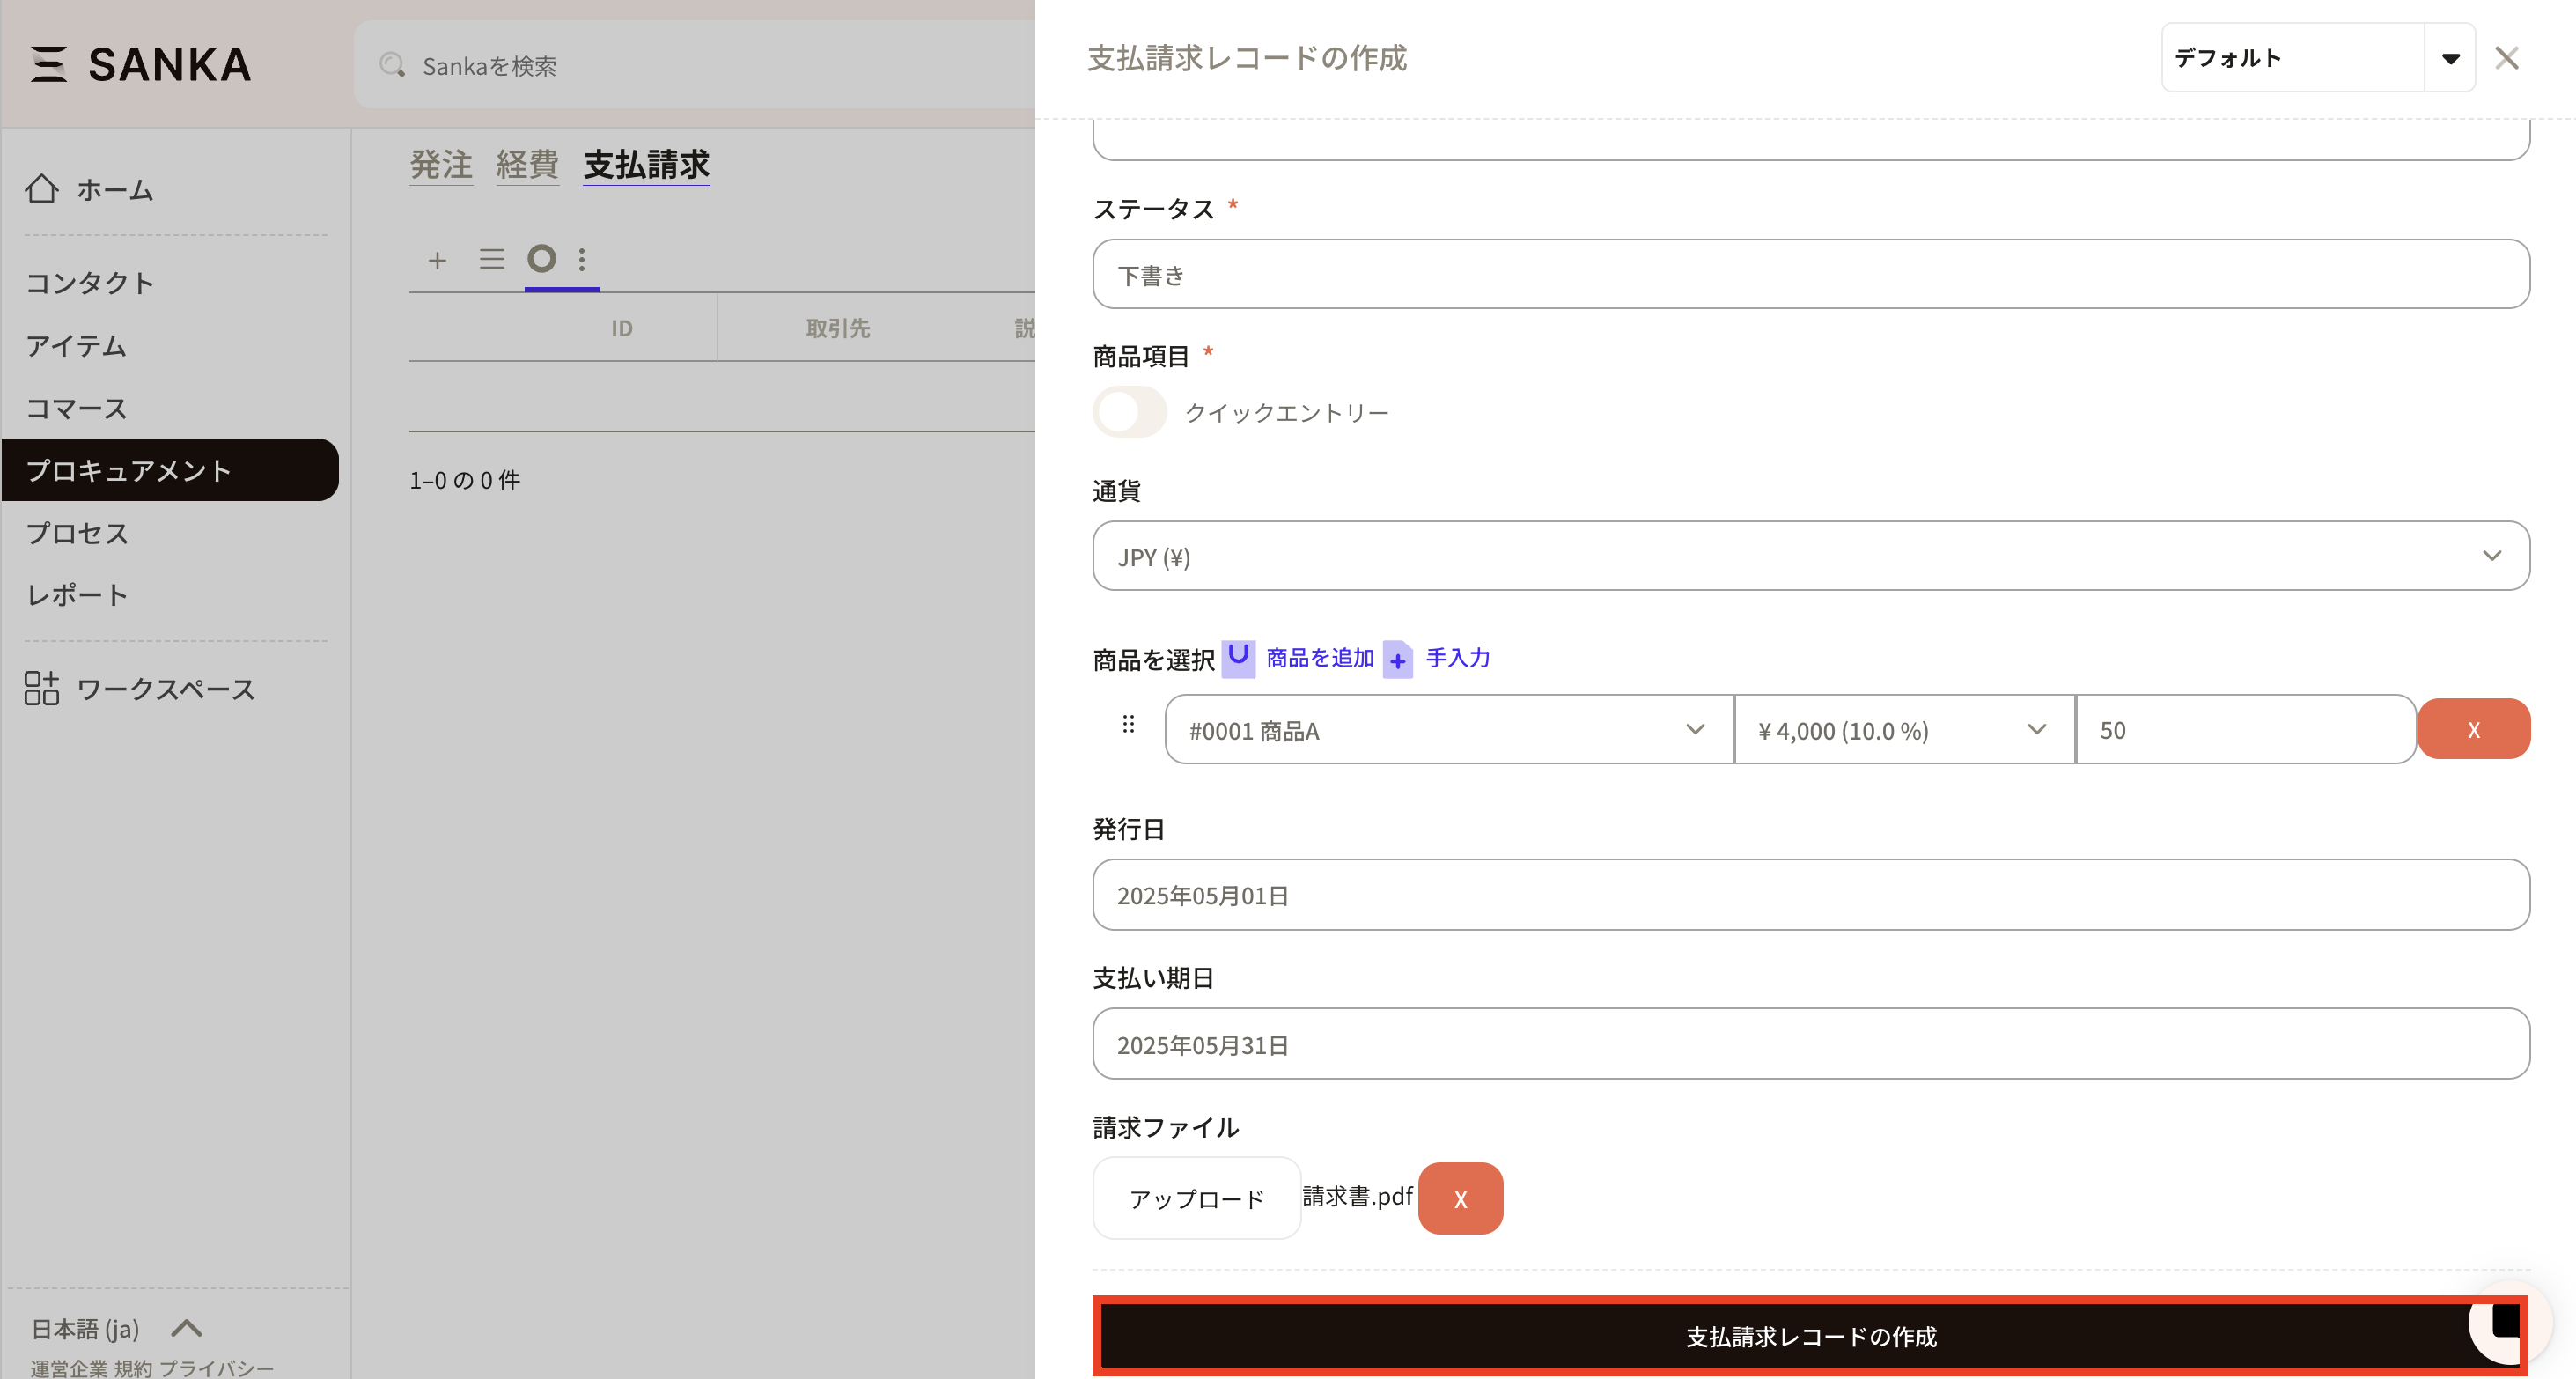
 ⑨After entering the required information, press the "Create payment request record" button to register.
How to delete/modify registered record information
Master how to modify information and use the archive function to hide unnecessary information.How to modify registered record information
①Click the ID of the corresponding record.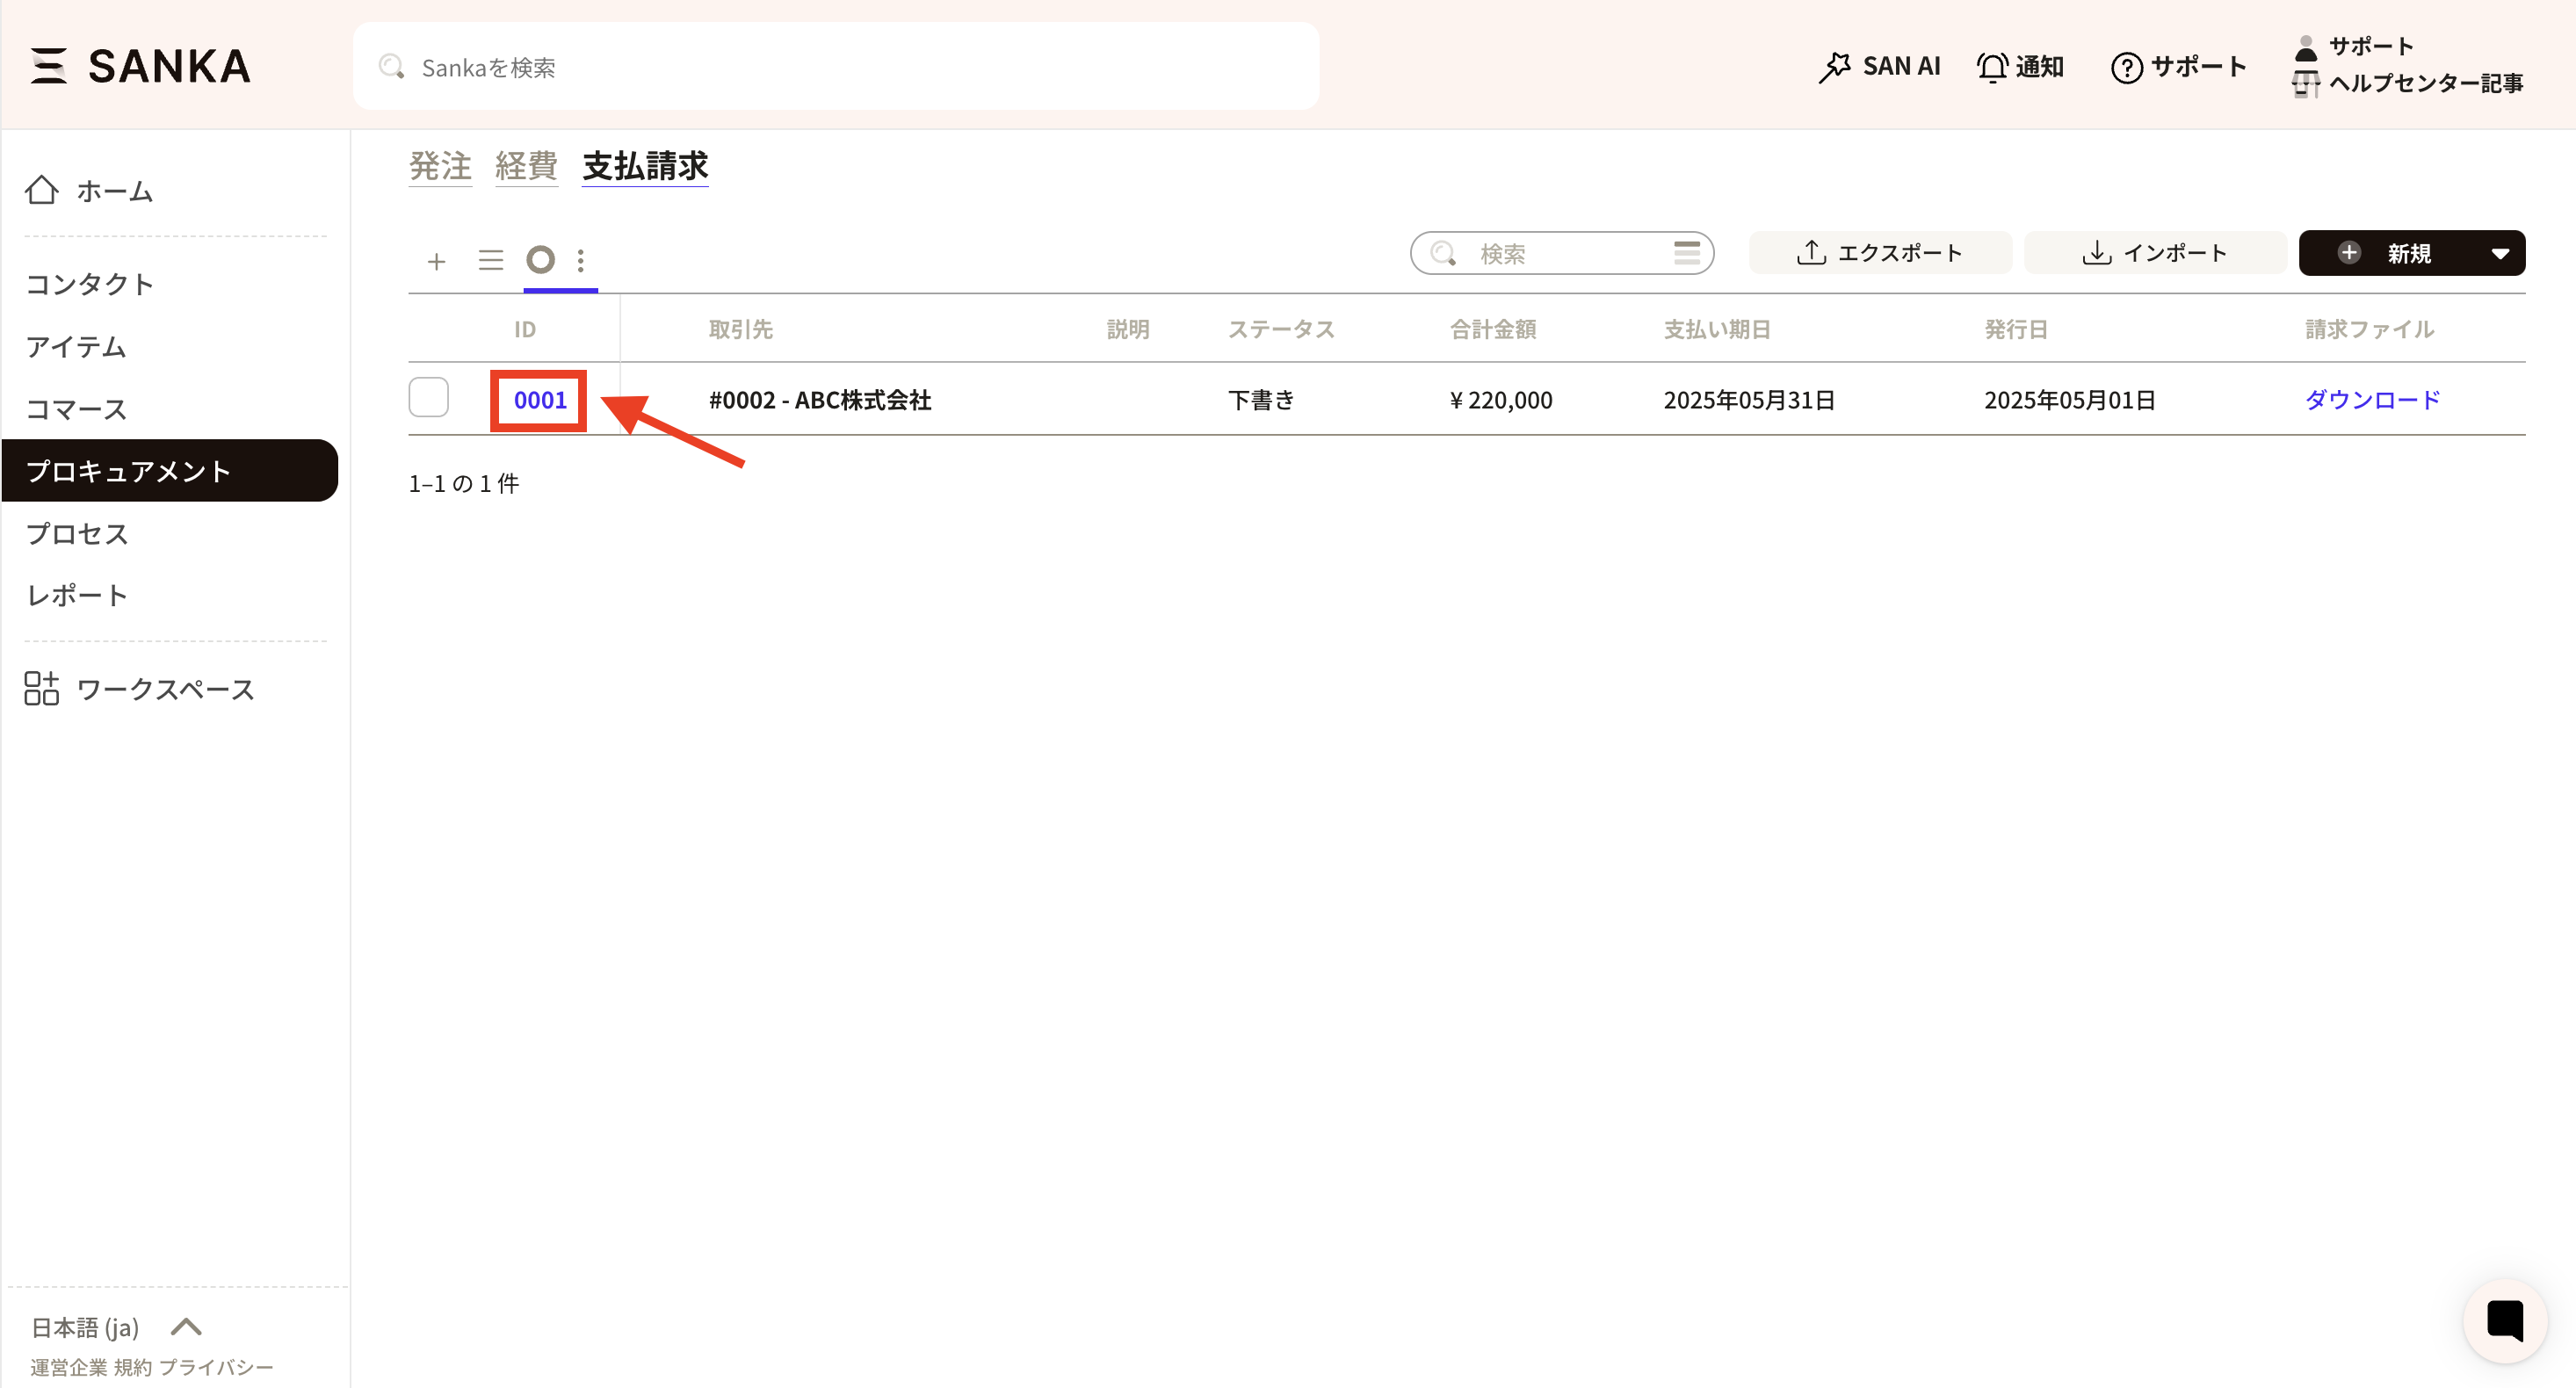 ②Click on "ID" to display the "Record Management" screen, where you can modify the information. For example, change your status.
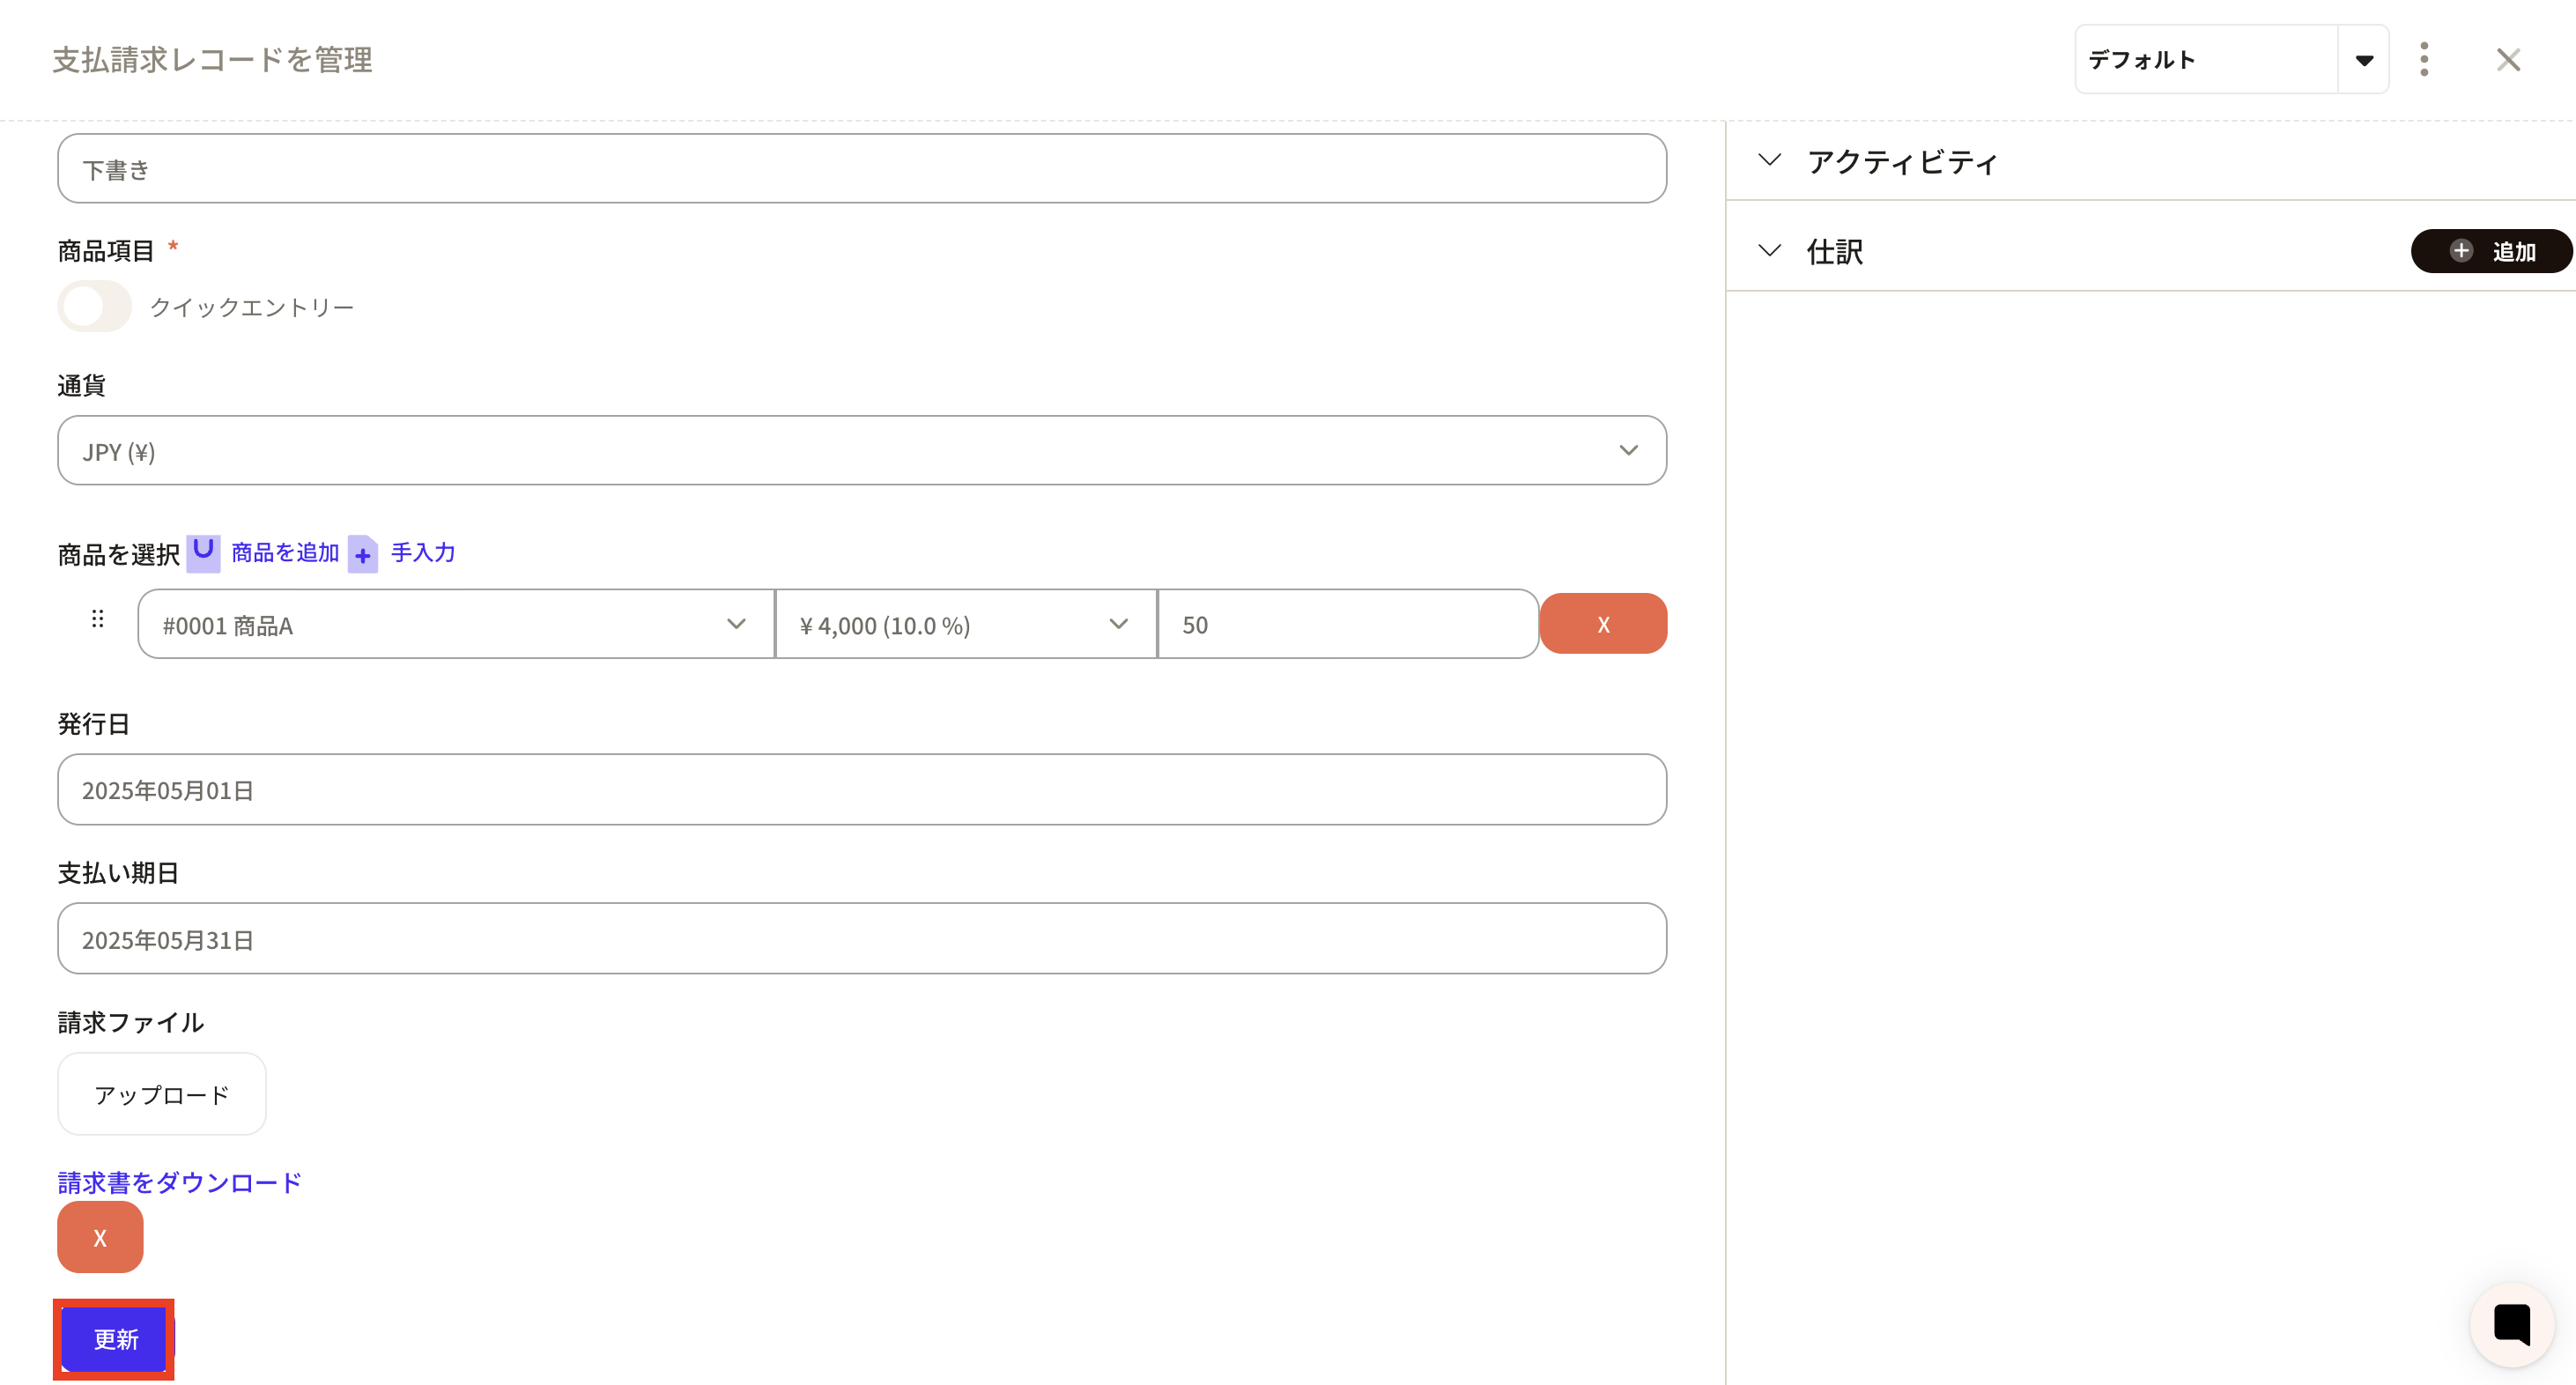
Finally, click "Update".
②Click on "ID" to display the "Record Management" screen, where you can modify the information. For example, change your status.
Finally, click "Update".
How to archive record information
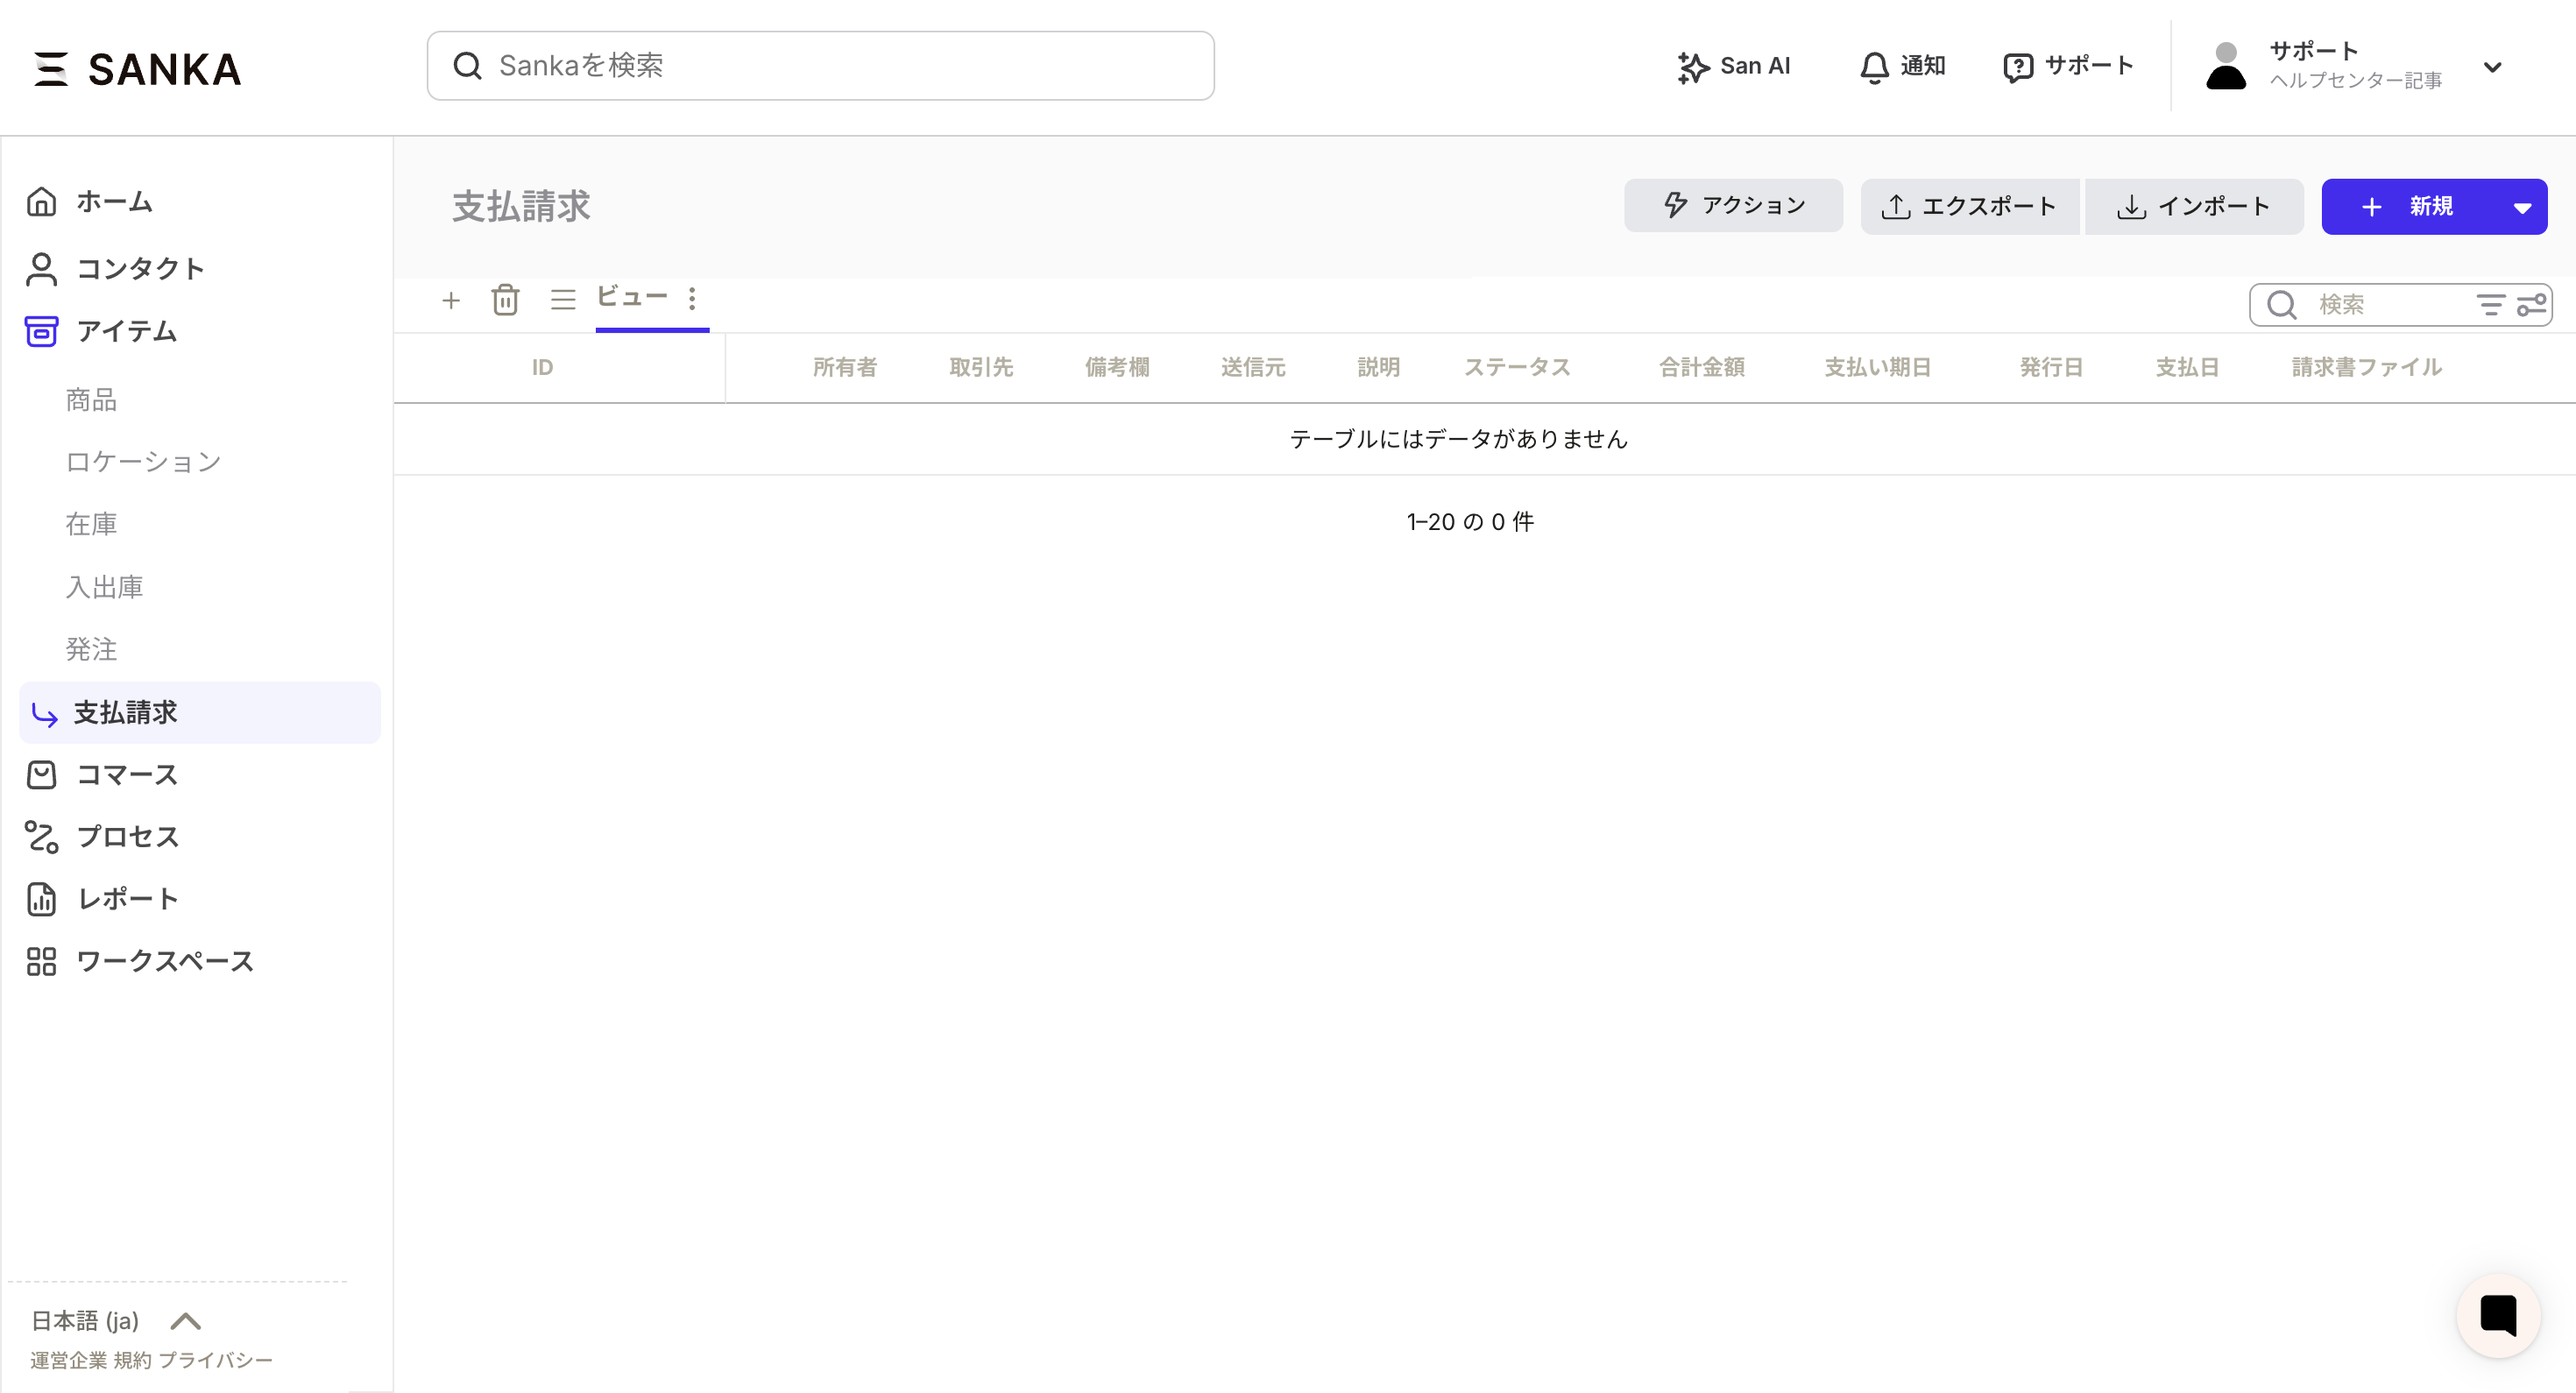
By using the archive function, you can hide registered record information from the table. ① Click the checkbox of the record you want to archive and select "Archive".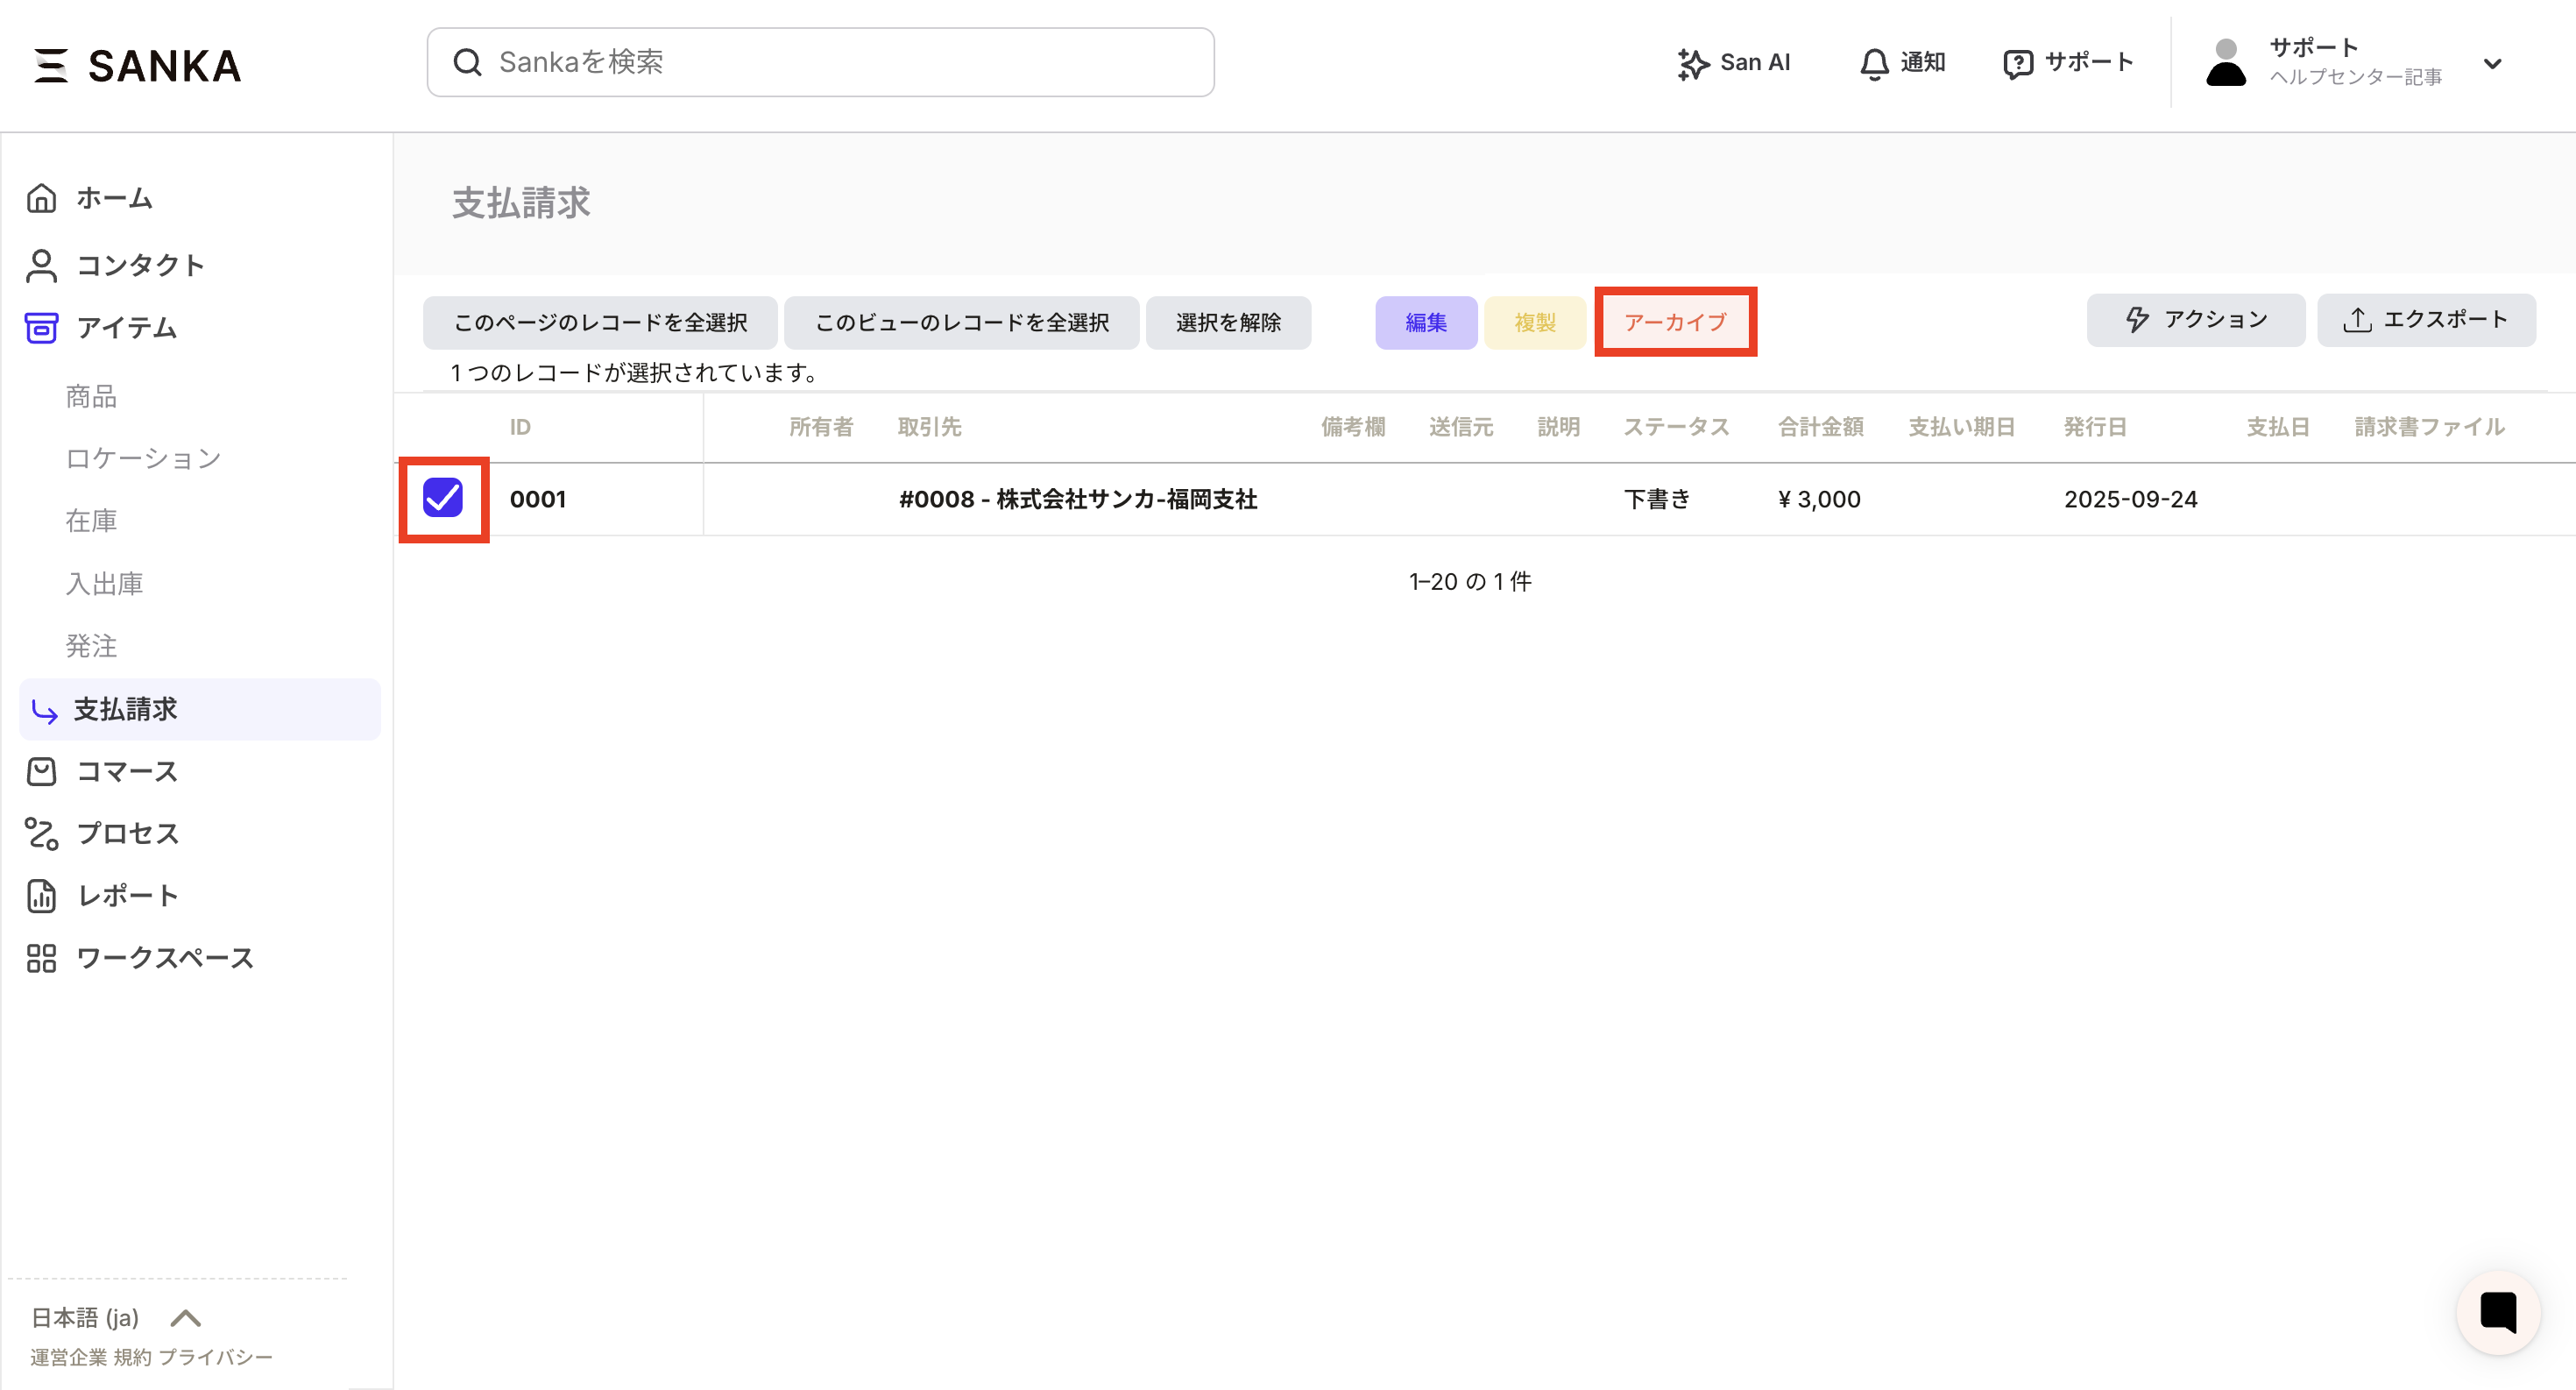 ② Archived records will no longer be displayed in the list.
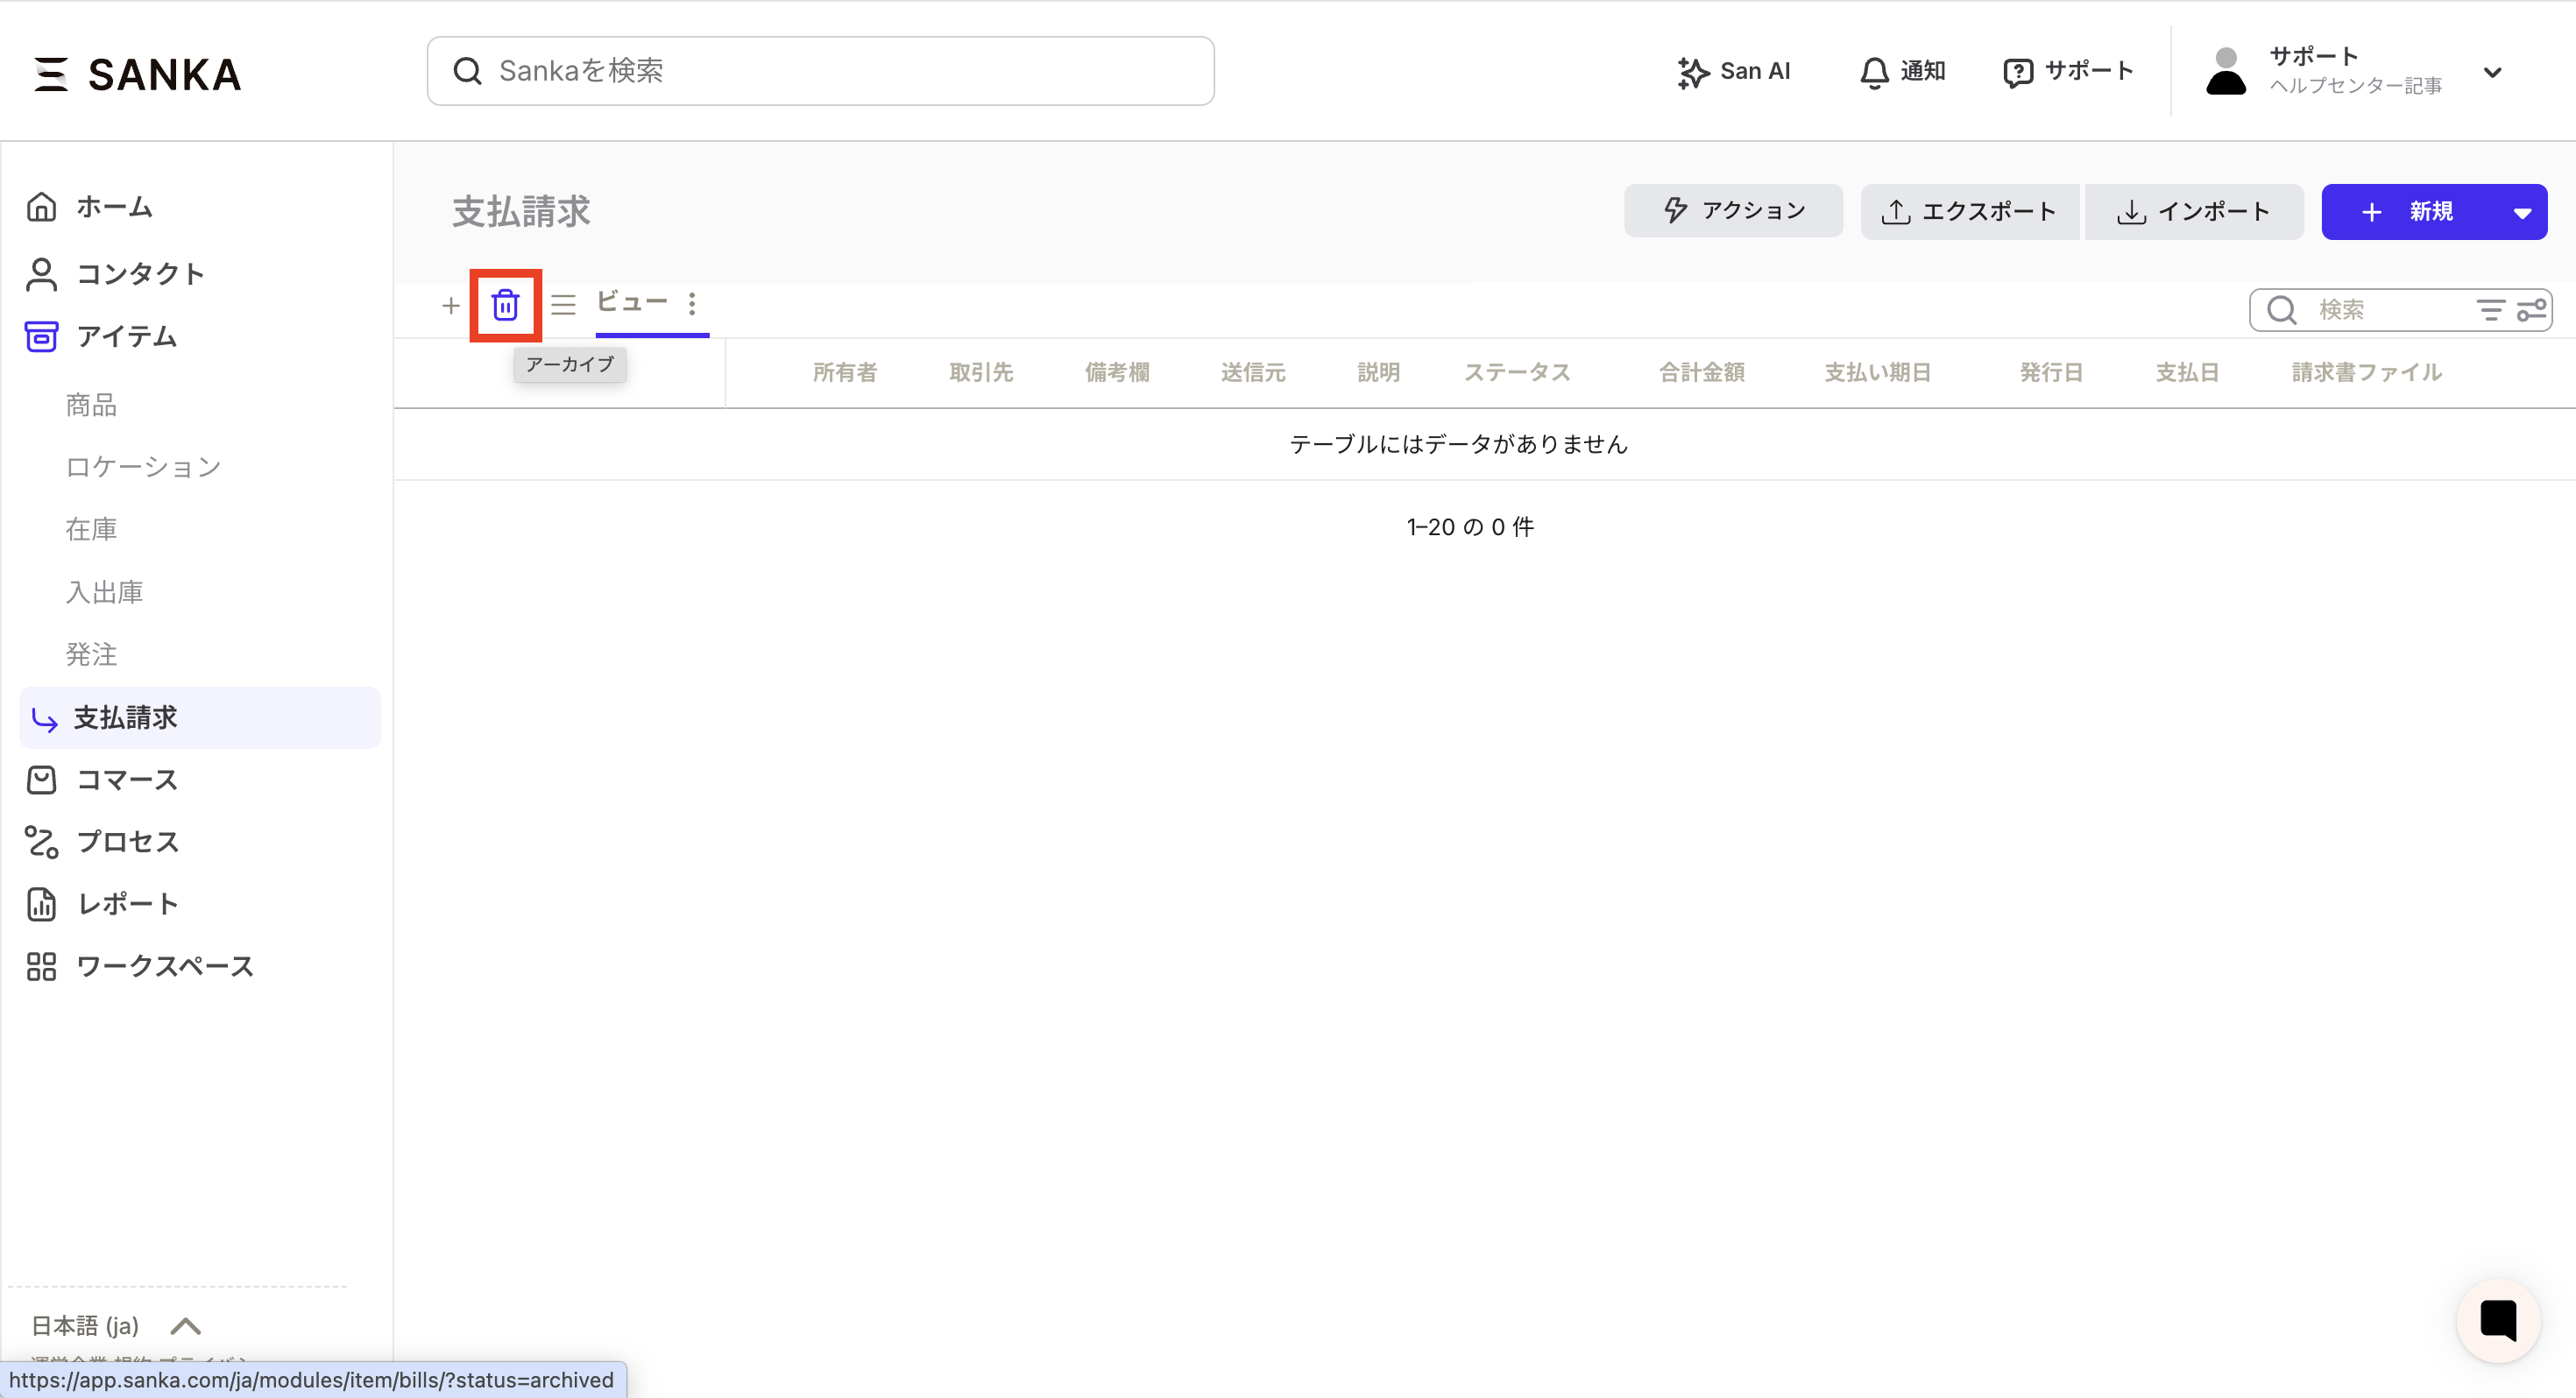
 ③ If you want to cancel the archive, go to the trash can mark display settings at the top left of the record list.
 ④A list of records that have been archived so far will be displayed. Click the checkbox of the applicable record and press the Activate button. *Currently, it seems that records cannot be deleted in the payment request object.
